Deploy Super-Mario on Docker with Docker Compose by using Inspection Technique.
Create light Docker image from heavy Docker image.
Author: Ujwal Pachghare🌟
🚀 PREREQUISITES
AWS Account
Docker Hub Account
Docker Installed
Docker Compose Installed
Dive Installed
Trivy Installed
First, we need to install some necessary tools. Open your terminal and run the following commands:
sudo apt update && apt install jq -y
This will update your package lists.
🐋 Installing Docker and Docker compose
This script will download both Docker and Docker Compose.
sudo curl -fsSL https://get.docker.com -o get-docker.sh./get-docker.sh
🌊 Installing Dive
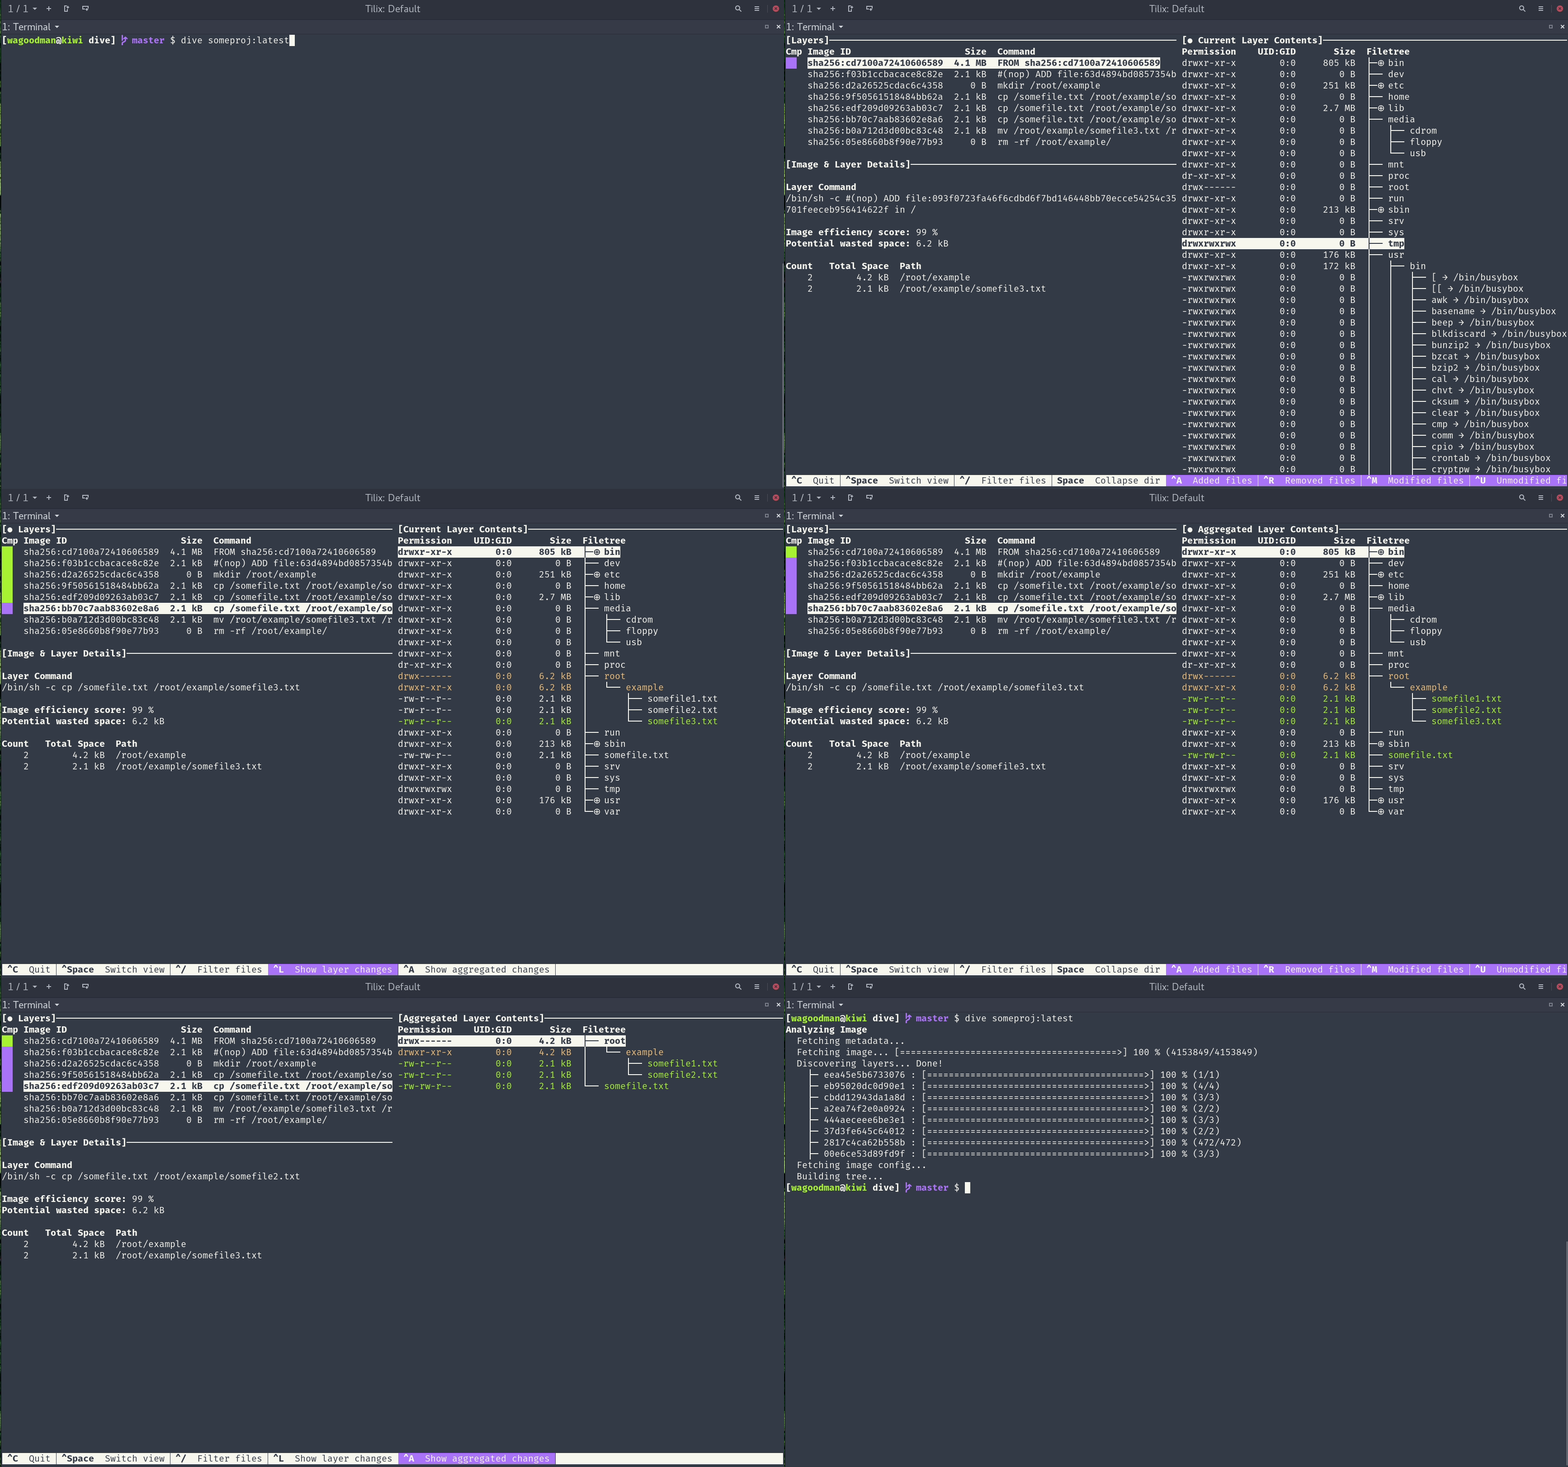
A tool for exploring a docker image, layer contents, and discovering ways to shrink the size of your Docker/OCI image
To install Dive, run the following commands:
export DIVE_VERSION=$(curl -sL "https://api.github.com/repos/wagoodman/dive/releases/latest" | grep '"tag_name":' | sed -E 's/.*"v([^"]+)".*/\1/')curl -OL https://github.com/wagoodman/dive/releases/download/v${DIVE_VERSION}/dive_${DIVE_VERSION}_linux_amd64.debsudo apt install ./dive_${DIVE_VERSION}_linux_amd64.debsudo rm -rf dive_0.11.0_linux_amd64.deb
🔐Installing Trivy
Lastly, we’ll install Trivy, Trivy is a comprehensive and versatile security scanner. Trivy has scanners that look for security issues, and targets where it can find those issues.
Run the following command to install Trivy:
sudo curl -sfL https://raw.githubusercontent.com/aquasecurity/trivy/main/contrib/install.sh | sudo sh -s -- -b /usr/local/bin v0.48.1
And that’s it! You’ve successfully set up your environment.
Next, we’ll dive into how to deploy a Docker container on an AWS EC2 instance.

Step 1: Setting Up Your AWS EC2 Instance
First things first, we need to set up an EC2 instance on AWS. We’ll be using an Ubuntu AMI of type t2.micro for our this demo. Don’t worry about the other settings; we can leave them as default.
Once our instance is up and running, we can connect to it. You can use Putty, SSH, or even AWS EC2 Instance Connect — whatever works best for you.
Step 2: Inspecting The Docker Image
Next, we’re going to inspect the Docker image. which is created by Pavel Kaminsky for running Super Mario game.
We’ll use a tool called dive to see where the code is stored in the image.
Pull the Docker image from Docker Registry :
docker pull kaminskypavel/mario
Here’s the command you’ll need for inspection:
dive kaminskypavel/mario
If you’re not familiar with dive, no worries! you can use this command to inspect the Docker Image:
docker inspect kaminskypavel/mario
Or, You can use this command to get exposed container port and working directory:
docker inspect --format={{.Config.WorkingDir}} kaminskypavel/mariodocker inspect --format={{.Config.ExposedPorts}} kaminskypavel/mario
Now, Run a temporary docker container with inspection image for getting container id:
docker run -d -p \$(docker inspect --format={{.Config.ExposedPorts}} kaminskypavel/mario | awk -F'[[/]' '{print $2}' ):\$(docker inspect --format={{.Config.ExposedPorts}} kaminskypavel/mario | awk -F'[[/]' '{print $2}' ) \kaminskypavel/mario
In above command I used this awk -F’[[/]’ ‘{print $2)’ that means it will find the string between [ and / operators then print the values of which is comes in second number.
E**X: $(docker inspect — format={{.Config.ExposedPorts}} kaminskypavel/mario) -> output: map[8000/tcp:{}] ->
awk -F’[[/]’ ‘{print $2)’-> output: 8000

Step 3: Copy Container Data Into Host Machine
Now, we’re going to transfer the container data into our host machine. Here’s how:
docker cp $(docker ps -q):$(docker inspect --format={{.Config.WorkingDir}} kaminskypavel/mario) ./myhostcd myhost
$(docker ps -q)this command will return running container Id. make sure there is only one container is running.
At this point, we can guess in which programming language the app is built. We’ll create a Dockerfile based on that. In our case, it’s JavaScript written application, so we’ll run this on a Nginx webserver.
Nginx is a webserver which is not only helps to render html pages in the browser easily but it also can be used as load balancer. we will use alpine images which helps to reduce the image size by 60–80 percent.
Step 4: Creating a Dockerfile and .dockerignore
Here’s what our Dockerfile looks like:
cat << EOF > Dockerfile
#pulling base imageFROM nginx:stable-alpine
#setting working derectoryWORKDIR /mario
#creating environment variablesENV NAME=SUPER-MARIOENV PORT=80
#copying files into containerCOPY . /mario
#removing Unnecessary filesRUN rm -rf /usr/share/nginx/html/*
#copying files into browser serving pathRUN cp -r /mario/* /usr/share/nginx/html/
#creating volume for access logs from the hostVOLUME /var/log/nginx/ /var/log/mario-logs
#expose port of containerEXPOSE 80
#Start Nginx when the container has provisionedCMD ["nginx", "-g", "daemon off;"]
EOF
Create “.dockerignore” to avoid copying unessasory files into container:
cat << EOF >.dockerignore Dockerfile.dockerignore .git.aws .bashrc.bash_logout .bash_history .ssh.viminfo EOF
Step 5: Building and Testing Your Image
With our Dockerfile is ready, we can now build the image and run a Docker container before that we will delete previous container:
docker rm -f $(docker ps -q) docker build -t mario . docker run -d --name mario -p 80:80 mario
Remember to open port 80/http, follow below instructions:
AWS Console → EC2 → select instance → security group → inbound rules → HTTP → save rule.
Step 6: Preparing for the Docker Registry
Before we can push our image to the Docker registry, we need to export the Docker registry credentials:
export DOCKER_PASS=<registry-password>export DOCKER_USER=<registry-username>
we can store these credentials in AWS Systems Manager Store for more security. for this we have to create IAM role with Systems Manager access then attach it to our EC2 Instance
Then, we can create the container image:
docker commit $(docker ps -q) $DOCKER_USER/mario:80
Step 7: Scanning Your Docker Image
We’re going to use Trivy, an open-source tool, to scan our Docker image for vulnerabilities.
Trivy supports multiple vulnerability databases, including the Common Vulnerabilities and Exposures (CVE) database. It can also scan for wrong configurations and secrets.
Scan Docker image and store result in “trivy-results.txt” file:
trivy image --severity HIGH,CRITICAL -o trivy-results.txt $DOCKER_USER/mario:80

Docker Image Scanner Trivy
Step 8: Pushing Your Image to the Docker Registry
Finally, we can log in to the Docker registry and push our image:
sudo echo $DOCKER_PASS | sudo docker login --username $DOCKER_USER --password-stdindocker push $DOCKER_USER/mario:80
step 9: Create Docker Compose file
Docker compose is a docker product which provides the power to manage multi containers in one Yaml file, called docker-compose.yml files.
Create “docker-compose.yml” file:
cat << EOF > docker-compose.yml version: '3'services: web: image: $DOCKER_USER/mario:80 environment: NAME: SUPER-MARIO PORT: 80 volumes: - /var/log/mario-log:/var/log/nginx ports: - "80:80"EOF
step 10: Deploy App with Docker Compose
Before running docker compose up command delete all running containers:
docker rm -f $(docker ps -q)
Start the containers.
docker compose up -d
Stop the containers.
docker compose down
At last copy the instance public IP and paste it in the browser and enjoy Super-Mario game.
And that’s it! You’ve successfully deployed application with Docker Compose on AWS EC2 by using Inspection Technique.


