How to Set up a Java application built with Maven on AWS Elastic Beanstalk
Java, Maven, Elastic Beanstalk, IAM, S3, EC2


Author: Ujwal Pachghare
Hello friends, In this tutorial we will deploy Java Application which we will build with the Maven build tool and then deploy on AWS Elastic Beanstalk.
Step-1: Delete Unsupported IAM Roles
Step-2: Create new aws-elasticbeanstalk-ec2-role
Step-3: Create S3 Bucket For Storing Artifact
Step-4: Create EC2 Instance for Building Artifact
Step-5: Create Application in Elastic Beanstalk
Step 6: clean up
Note:- AWS Elastic Beanstalk has been facing issue related to IAM EC2 Role and to resolve that issue we have to follow respective instruction that are provided by AWS experts.
Step-1: Delete Unsupported IAM Roles
- Navigate to IAM console → Select Role from left menu

2. search for aws-elasticbeanstalk-service-role in the search bar → Click on Delete button → Delete it
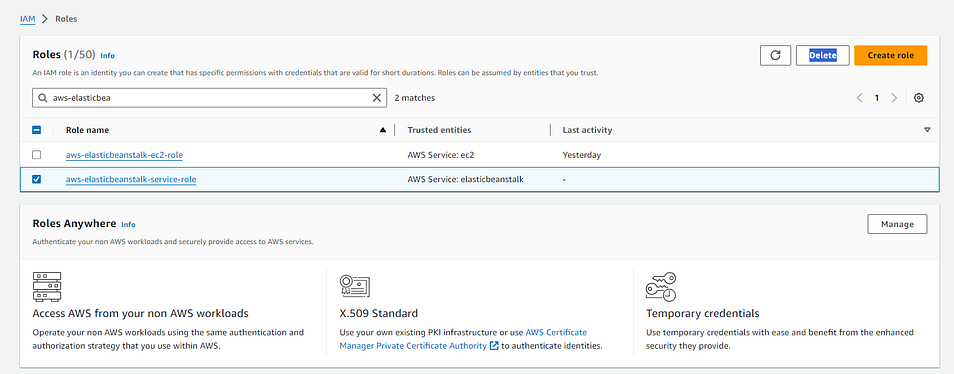
3. Search for aws-elasticbeanstalk-ec2-role → click on Delete button → Delete it also

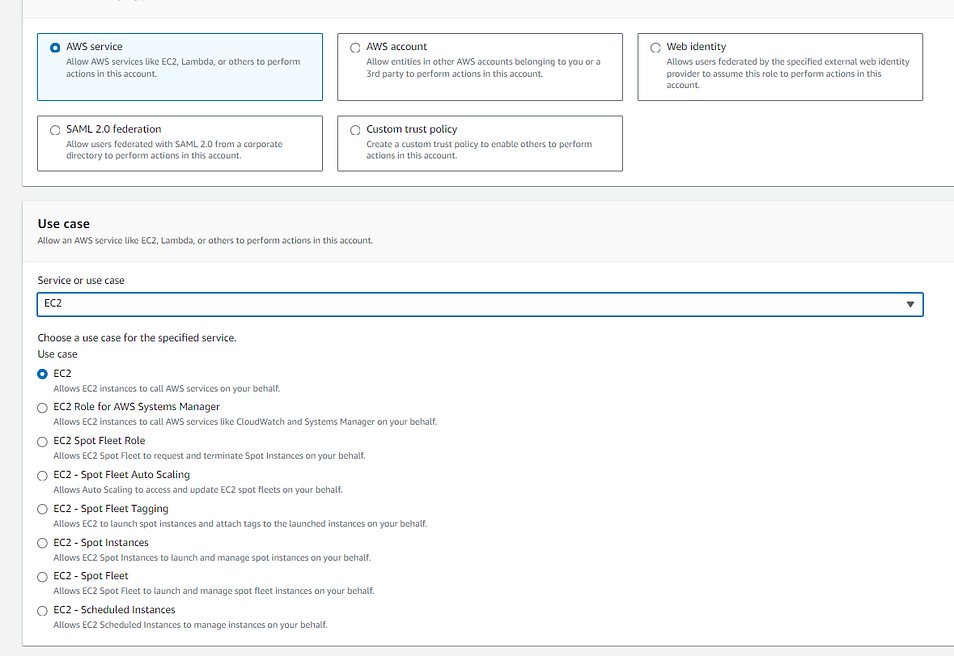
Step-2: Create new aws-elasticbeanstalk-ec2-role
- Click on Create role → Select AWS Service → in the use case choose EC2
2. Select necessary policies for our IAM Role → Search and check the boxes for policies that are in the image → click Next

3. Give name to our new Role → Click on Create Role (button at the last)

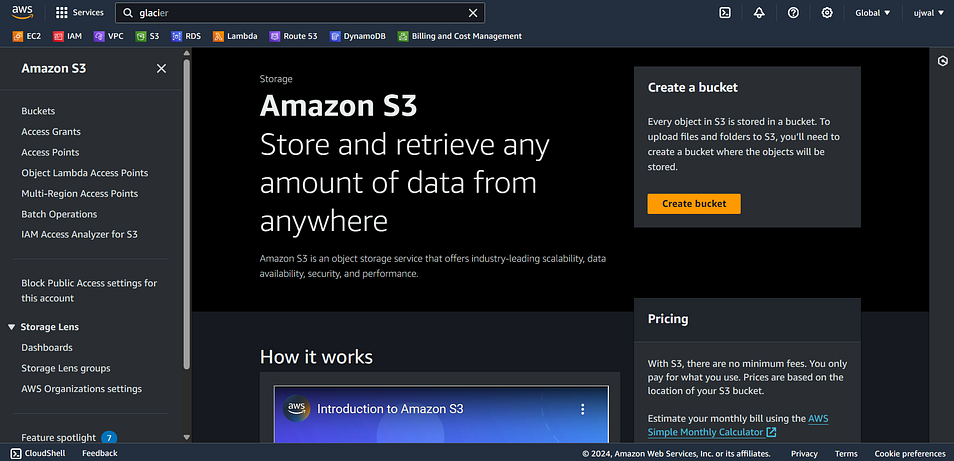
Step-3: Create S3 Bucket For Storing Artifact
- Go to S3 Dashboard and Click on Create Bucket
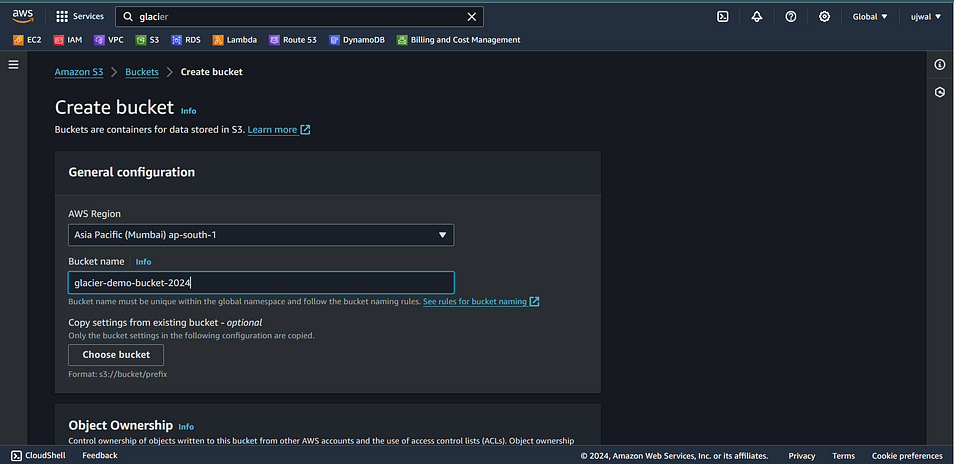
2. Giving unique name to the bucket
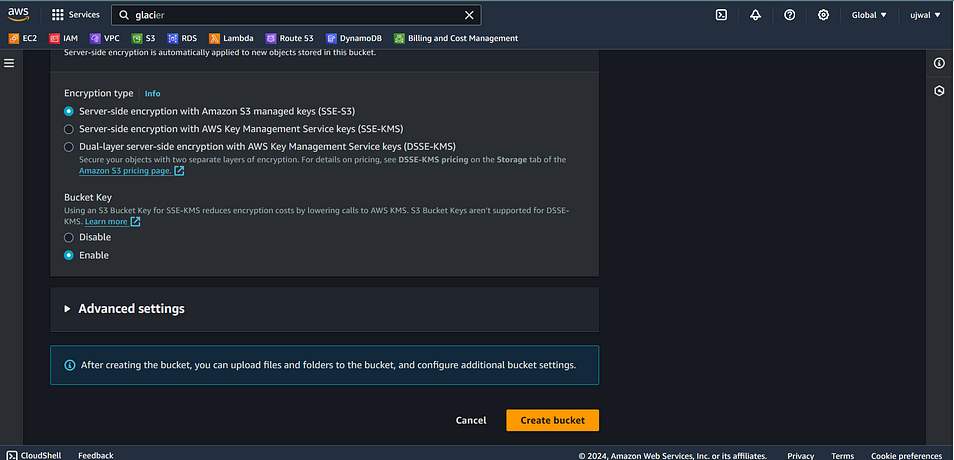
3. let all the options default and click on Create Bucket at last.
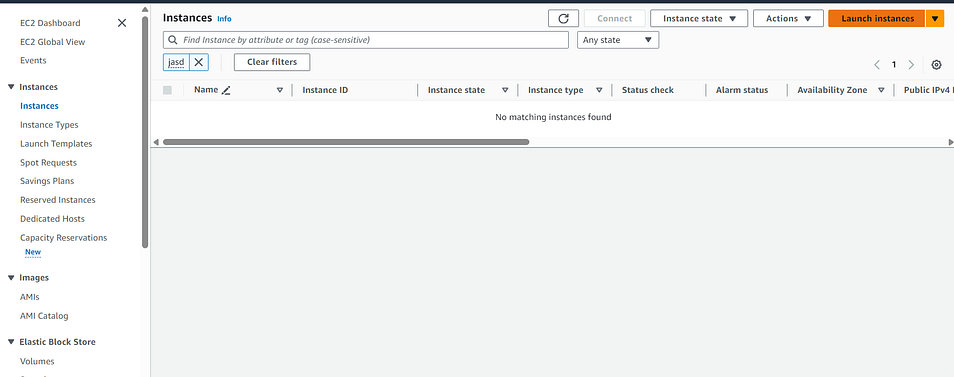
Step-4: Create EC2 Instance For Building Artifact
- Navigate EC2 Console → Click on Launch Instance
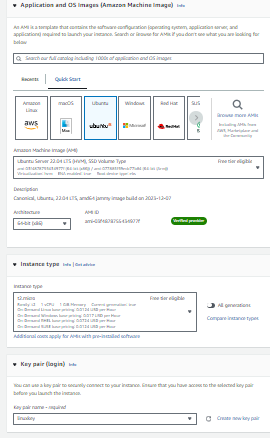
2. Give name to EC2 Instance → Select Ubuntu AMI → Select type t2.micro → select existing key-pair → let other things default → Click on launch instance
3. Wait for Status check pass → Select our instance → click on Action button → click on Security → click on modify IAM Role → Select Role that has permissions to put objects in S3 Bucket or create new one with S3FullAccess → at last click on Update IAM Role

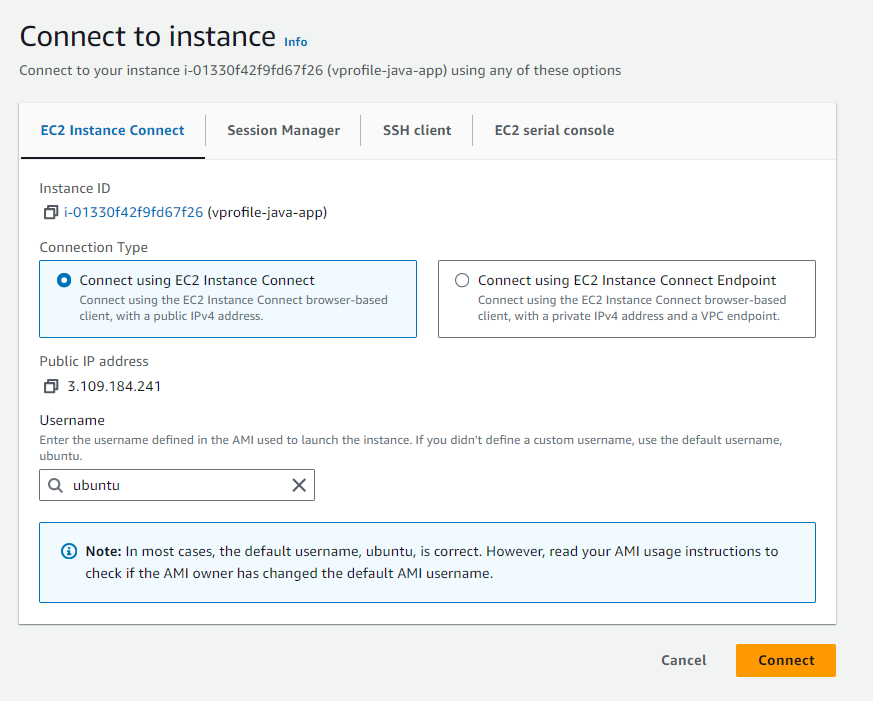
- SSH into Instance from browser → Select instance → Click on Connect
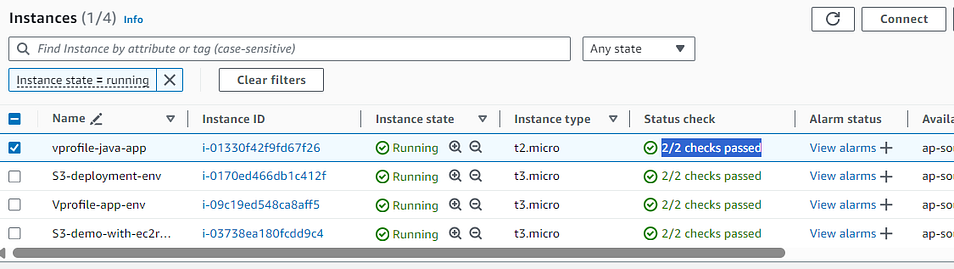
4. Connect to instance by clicking on Connect
5. Run following Script in that instance to build and copy artifact from EC2 to S3 Bucket
sudo apt update
sudo apt install maven awscli -y
sudo git clone https://github.com/hkhcoder/vprofile-project.git
cd vprofile-project
mvn install
aws s3 cp target/vprofile-v2.war s3://<your-s3-bucket-name>
6. Navigate to S3 Console → go inside our new bucket → click on Copy URL

Step-5: Create Application in Elastic Beanstalk
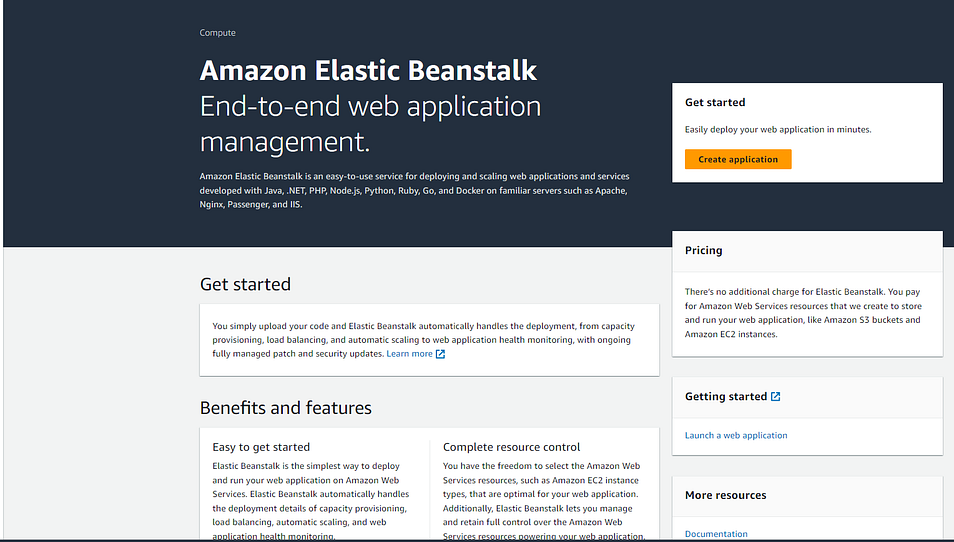
- Navigate to AWS Elastic Beanstalk Dashboard → Click on Create Application
2. Select Web Server Environment for deploying web application. Give name to our application and it will automatically take the environment name according to our application name.
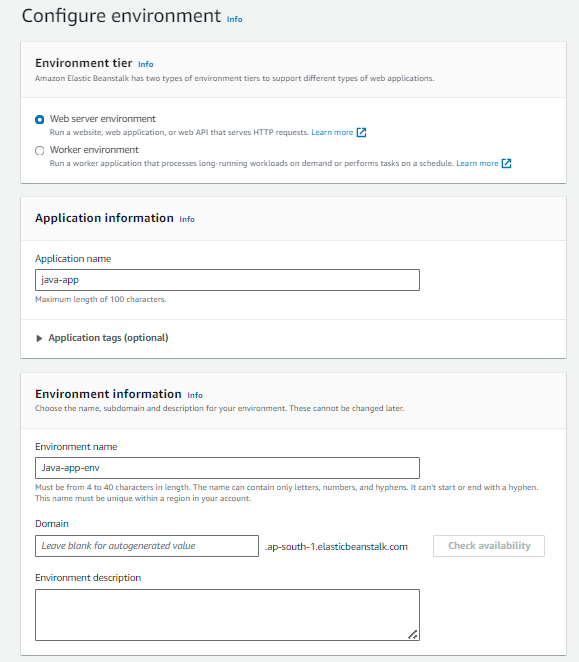
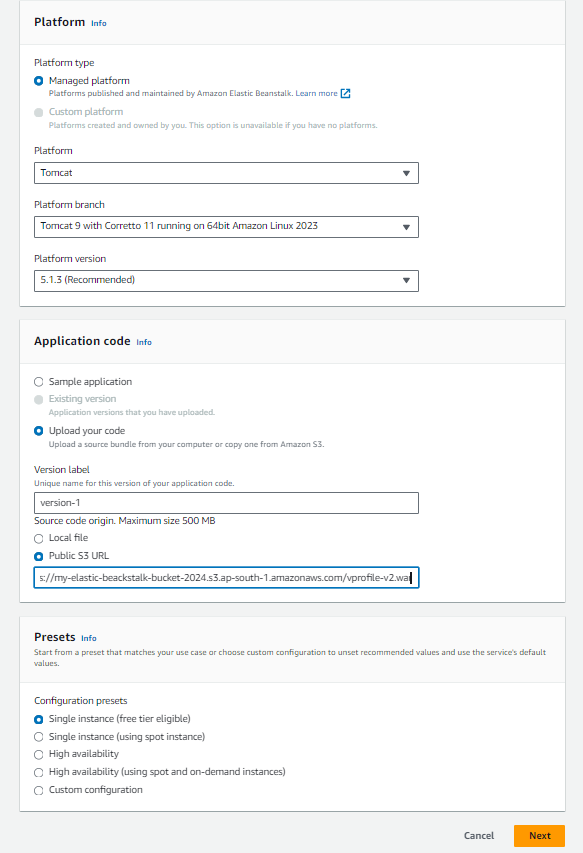
3. Select platform for deploying our app. Our app is written in JAVA, so we will choose
Platform: Tomcat Server
Platform branch: Tomcat 9 with corretto 11 running on 64bit Amazon Linux 2023 (because our app is test and build in Java 11 runtime environment)
Platform version: 5.1.3(Recommended)
Check the circle of Upload your code → Give version label whatever you want → then paste our S3 bucket URL that we copied in step 4.5
5. Check first circle button to create new role → choose existing key-pair → in EC2 instance profile choose the which we have created previously.

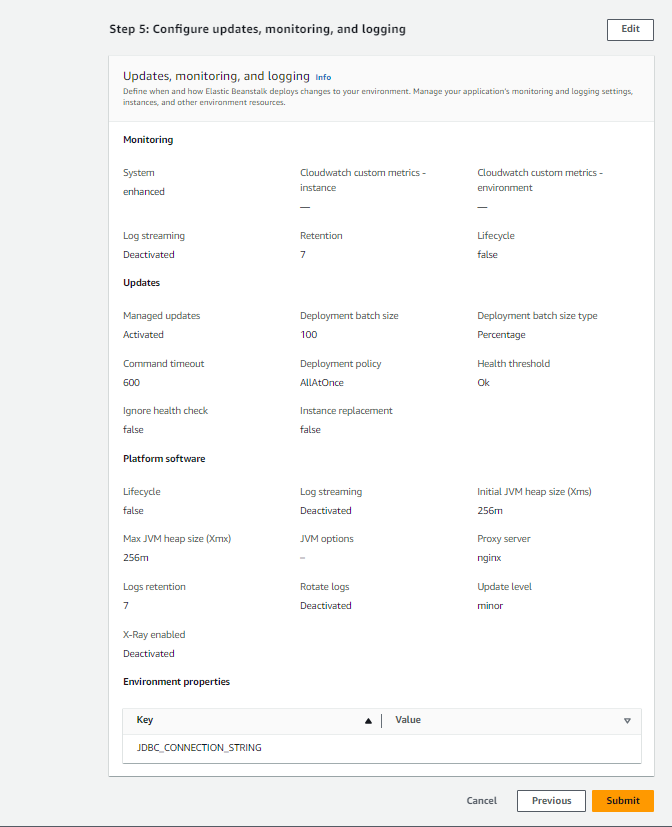
6. If you want to configure other things like Load Balancer and Autoscaling groups so click on Next or just take all default values of Elastic Beanstalk by clicking on Skip to review button and after that review the changes then click on submit button.
7. Keep in mind that it will take 4–5 minutes for deployment of our application
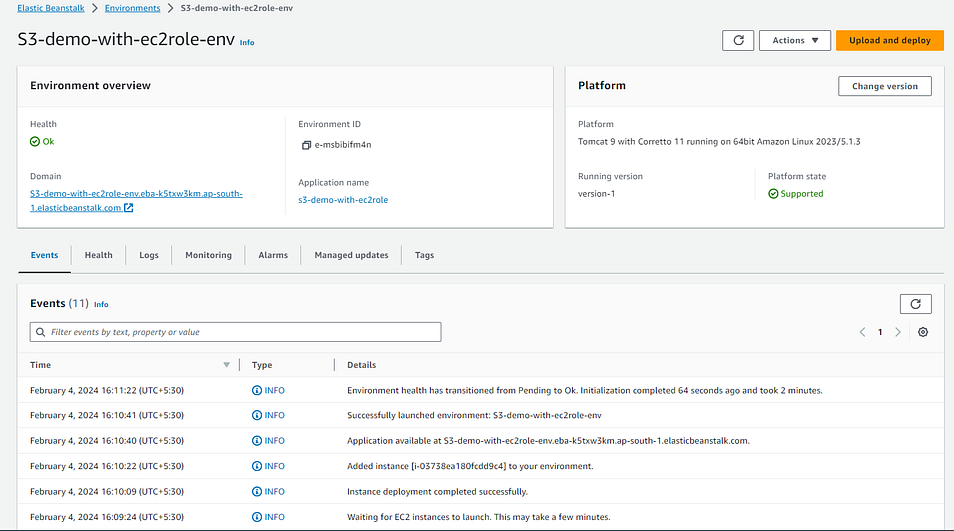
8. After deployment you can see Ok status that means now you can access the application so click on Domain then you will see following application login page
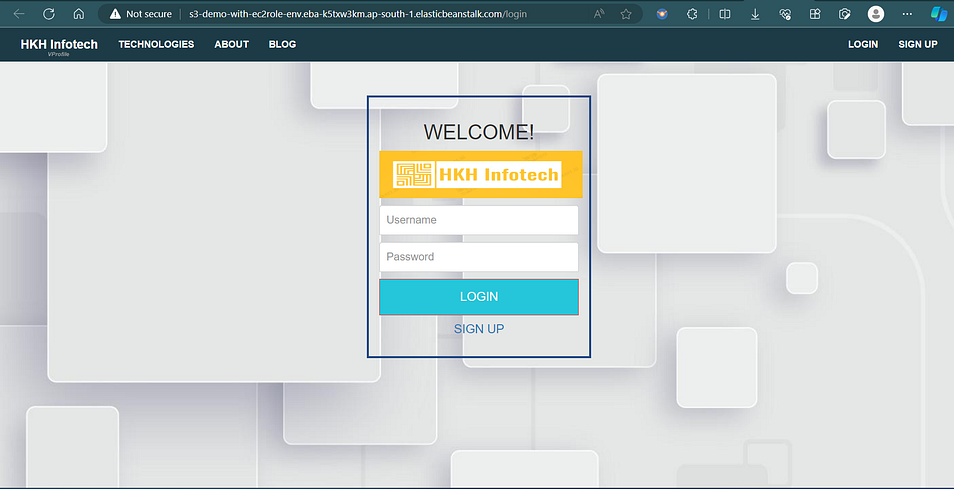
Wow you have successfully deployed JAVA Application on AWS Elastic Beanstalk.
Step 6: clean up
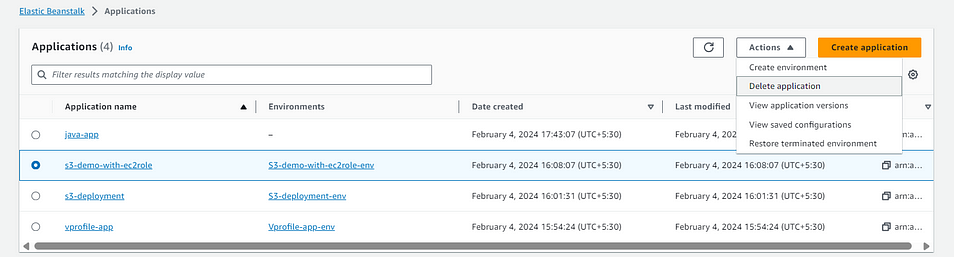
Now it's time to clean all the resources. so first click on application from left navigation panel in elastic beanstalk console.
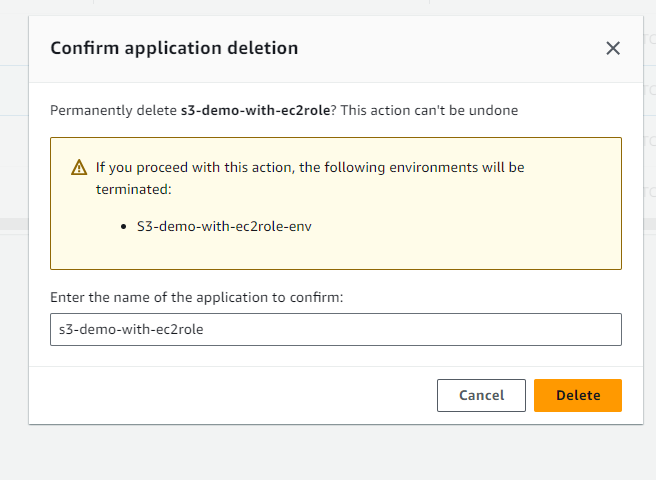
Select the app to delete → Actions → Delete application
Finally confirm to delete application by typing our applicaton name in the box and click on Delete.