

Mastering Data Management: Unleash the Power of Amazon S3 for Cloud Storage
Organize & Secure Data, Configure Permissions, Data Backup, Versioning & Retrieval


Table of contents
- Introduction To Amazon S3
Author: Ujwal Pachghare🌟
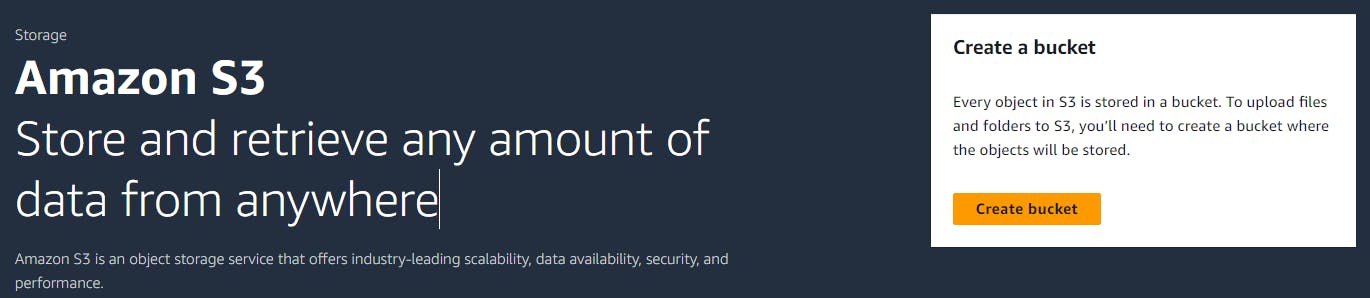
Introduction To Amazon S3
*AWS S3, or Amazon Simple Storage Service, functions similarly to a big cloud-based digital filing cabinet. Consider that you require a location to store a large number of assets, including papers, films, images, and more. They may be stored on your computer, but what would happen if it broke or ran out of space? S3 fills that role.
S3 can be compared to a massive, safe, and dependable hard drive located high in the sky. It allows you to upload and download files, as well as organize them into various folders (referred to as "buckets" by S3).*
*The fact that S3 is "scalable," or able to expand with you, is one of its interesting features. S3 is capable of handling millions of files, even if you just have ten. You just pay for what you use, too.
Essentially, Amazon Web Services' S3 storage solution allows you to store and retrieve enormous volumes of data via the Internet[ at any time and from any location. It functions similarly to a cloud-based personal storage unit!
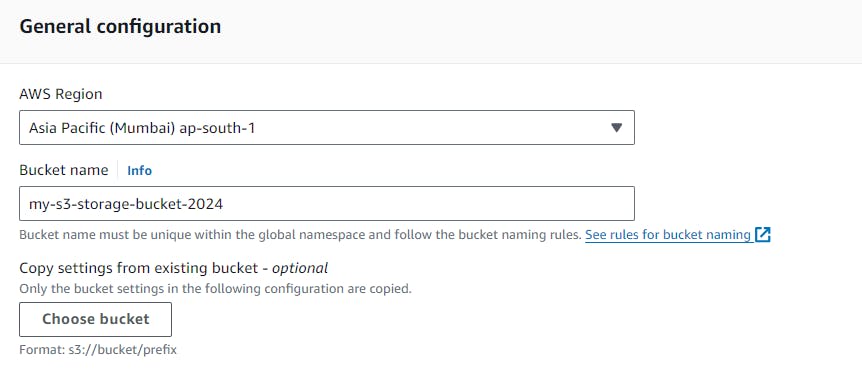
1. General Configurations
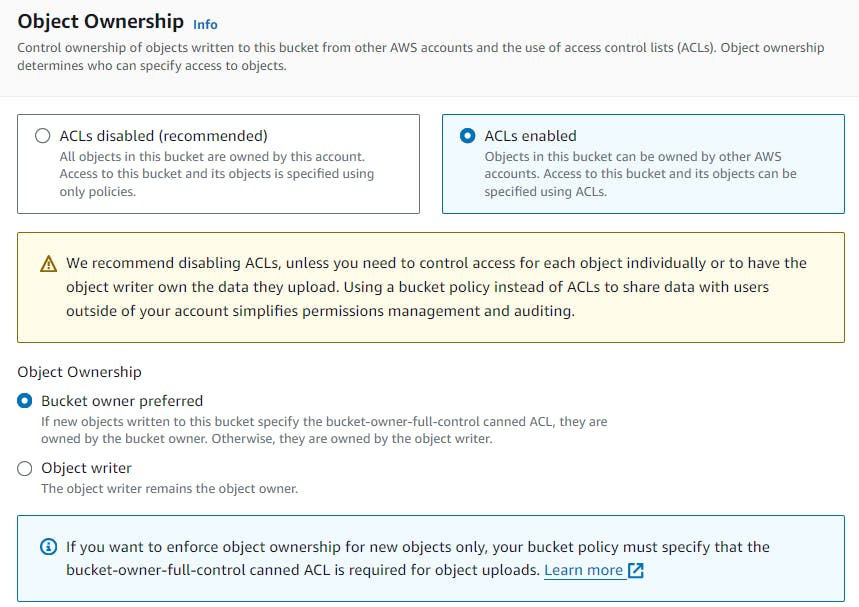
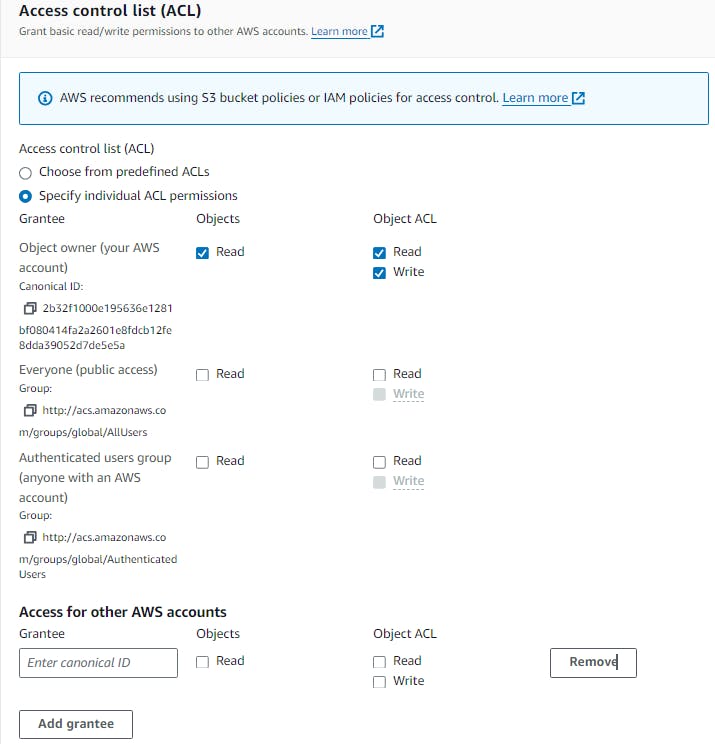
2. Object Ownership
Object ownership determines who can specify access to objects with ACLs (Access Control Lists)
ACLs Disabled
ACLs Enabled
Bucket owner preferred: The bucket owner owns and has full control over new objects that other accounts write to the bucket with the bucket-owner-full-control canned ACLs.
Object writer: The AWS account that uploads an object owns the object, has full control over it and can grant other users access to it through ACLs
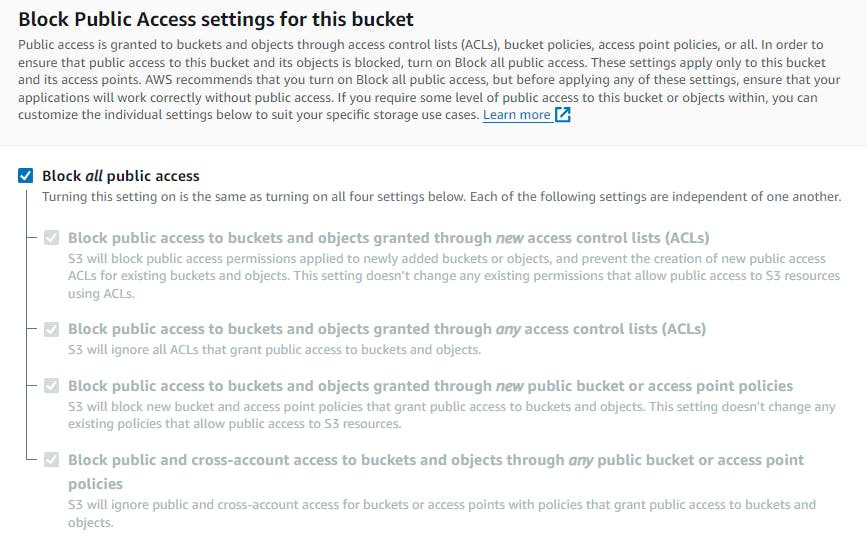
3. Block Public Access settings for this bucket
4. Bucket Versioning
Disable
Enable
Advantages Of Versioning: Amazon S3 bucket versioning is a feature that allows you to keep multiple versions of an object in the same bucket. Versioning can help you recover objects from accidental deletions or overwrites.
Keep In mind: Once you Enable it, you can't Disable it, but you can suspend it and, if you have three versions of an object stored, you are charged for three objects.

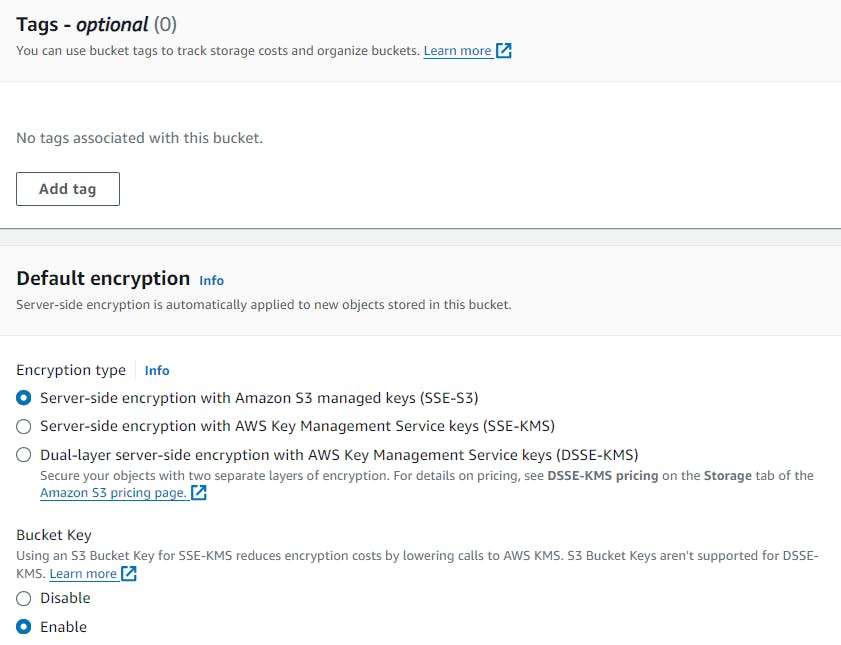
5. Tags and Default encryption
Tags
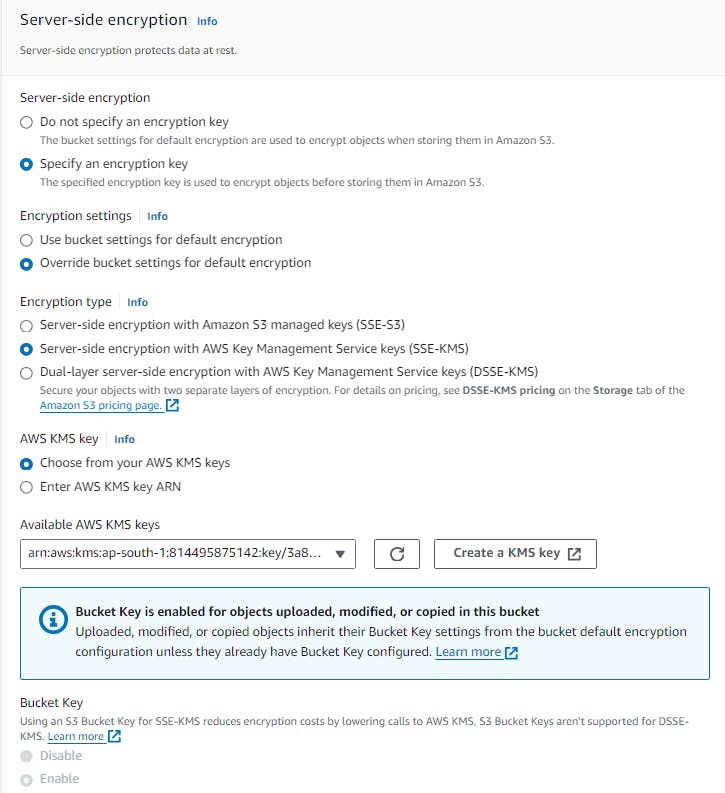
Encryption type
Server-side encryption with Amazon S3 managed keys (SSE-S3)
- This encrypts data with S3-managed keys, which is the default option for S3.
Server-side encryption with Amazon KMS Keys (SSE-KMS)
- We can encrypt data with Amazon KMS Keys by giving permissions that we want.
Dual-layer Server-side encryption with Amazon KMS Keys (DSSE-KMS)
- We can apply double protection to objects by using Dual-layer encryption with Amazon KMS Keys.
Bucket Key
The S3 Bucket Key feature is like a master key for your locker. Instead of having a separate key for each document, you have one master key that can open any document in the S3 bucket.
Every time you use it, it creates a temporary copy of itself (a “data key”) to open a document. This means that even if someone else gets hold of this temporary key, they can only access that one document, not the whole S3 bucket.
S3 Bucket Keys aren't supported for DSSE-KMS
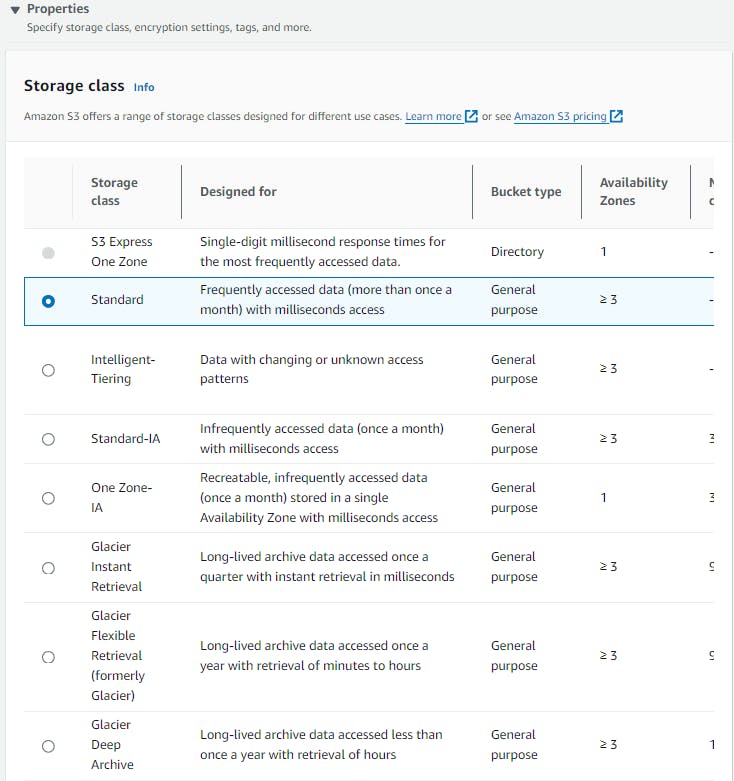
6. Advanced settings
Object Lock
Disable
Enable


7. Organizing Data In S3 Bucket
We can store data in a well-organized manner in S3 Bucket. For example, we can create folders for every different data type (image, video, music) and store sub-data in them.
Ex: We create an image folder for storing images, and then we create a sub-folder for storing different kinds of images (PNG, JPG, and GIF), and then we create a sub-folder for storing images for every month (Jan, Feb, and March), and we will store January month images in the January folder.


8. Configure Access Permissions For Secure Data Storage
At point No 7 we have created an image folder and uploaded .JPG files to it. while creating folders and uploading files, we can configure permissions and secure our data storage. You just have to follow the respective points.
I. Create a folder with access permissions

II. Upload files with access permissions

9. Implement Data Backup And Retrieve
Backing Up Data in S3:
Create a Bucket: First, you need to create a bucket in S3 where you’ll store your data.
Upload Data: Next, you can upload your data (like files, images, etc.) to this bucket.
Enable Versioning: To protect your data from accidental deletion or overwriting, you can enable versioning on your bucket. you can see
Use AWS Backup: For additional protection, you can use AWS Backup, a service that automates backup tasks.
Retrieving Backed Up Data from S3:
Access the Bucket: Open the Amazon S3 console and navigate to your bucket.
Access the Object: Navigate to the folder of the deleted object. Turn on Show versions.
Find the File: Choose the file that you want to open or download. Select the previous version of the object. Don’t select the delete marker.
Download the File: Choose ‘Actions’, and then choose ‘Open’ or 'Download’.