


Author: Piyush Lokhande(Senior DevOps Engineer)
In the ever-evolving realm of cloud computing, businesses often seek efficient ways to migrate database data between AWS accounts. This SEO-friendly guide offers a step-by-step approach to seamlessly transfer your database, ensuring a smooth transition without compromising data integrity.
Step 1: First select the database which you want to migrate.
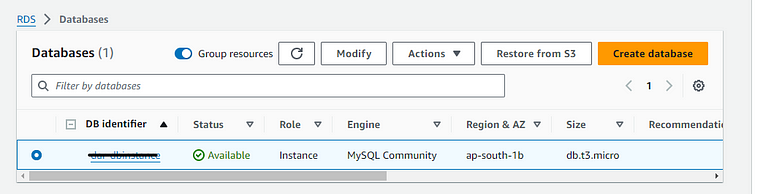
RDS Service.
Step 2: Click on the Action button you get below as an option.
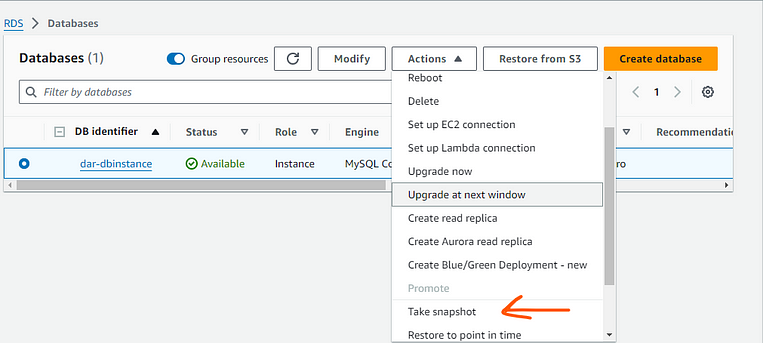
Step 3: Click on Take Snapshot.
Step4: After that, you get the page below.
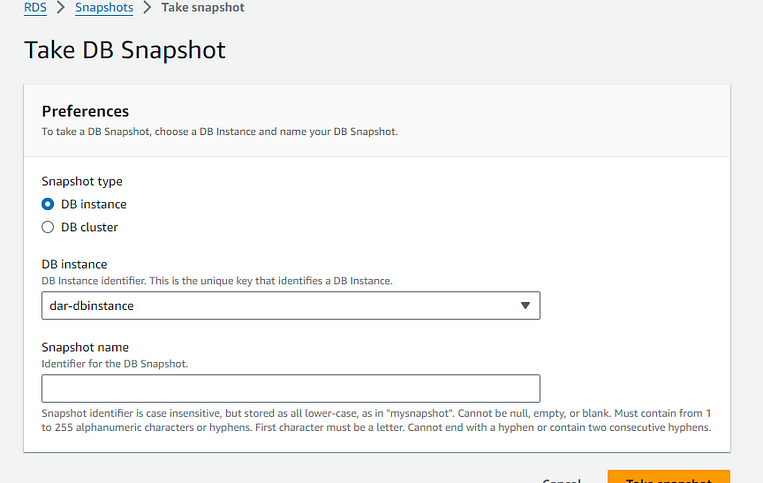
Step 5: Select your DB instance and give the snapshot name once done click on the take DB snapshot icon.
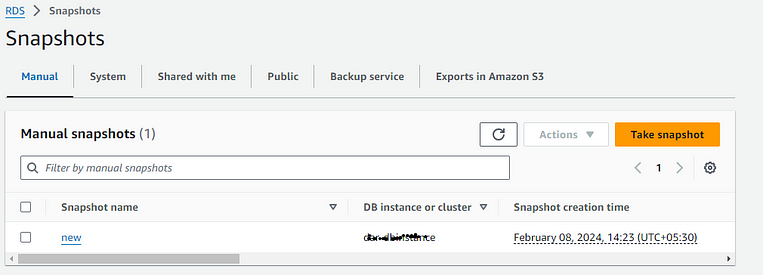
Step 6: After that, you get the status your snapshot is created like as.
Step 7: After creating a snapshot Open service which is key management service (KMS).
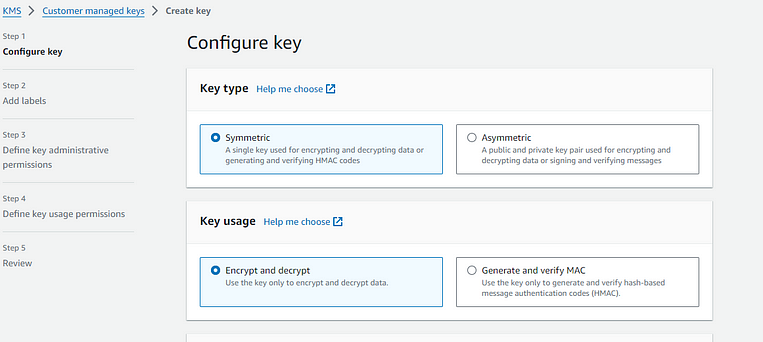
step 8: On the above service create a KMS key. The creation of the KMS key configuration is below.
step-1
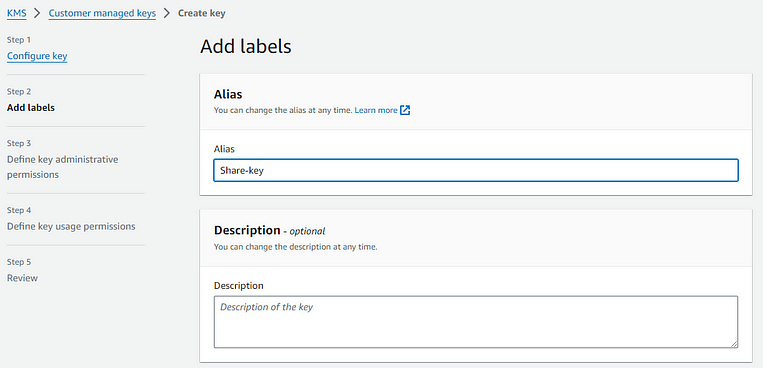
step-2
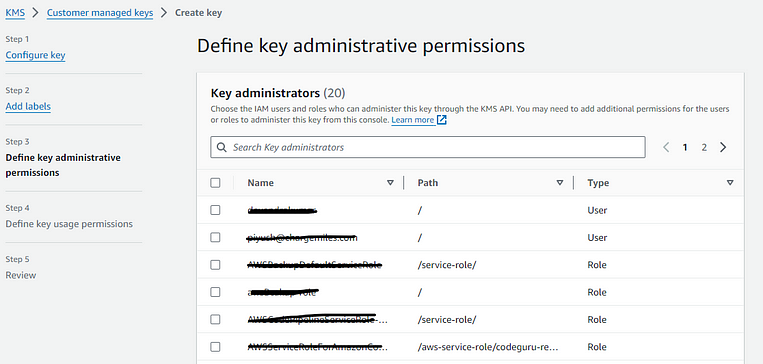
step-3 On the third step you can give whoever “deletes this key” access. If you want to give access to a specific user select below as.
step-4 Be careful In the fourth step there is we need to add the account ID of the destination AWS account.
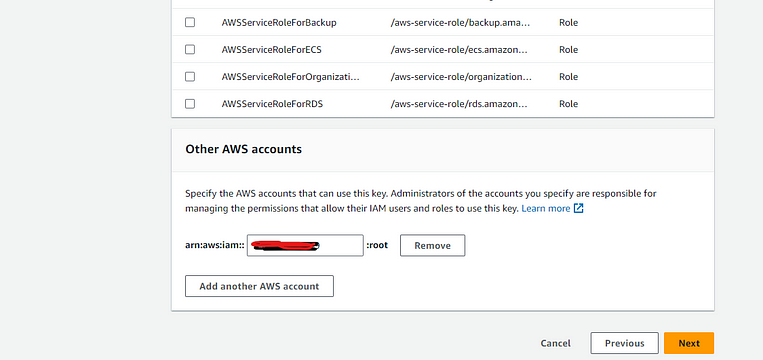
step-5 In this step show all the configuration of your KMS key that you have added.
Step 6: Finally your KMS key is generated.
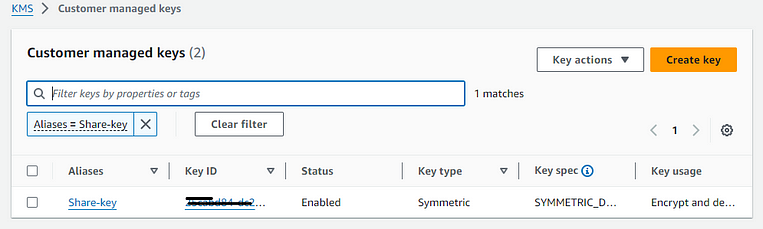
KMS Service
Step 7: After creating a KMS key go to the RDS service which opens the snapshot section and click on the Action button below.
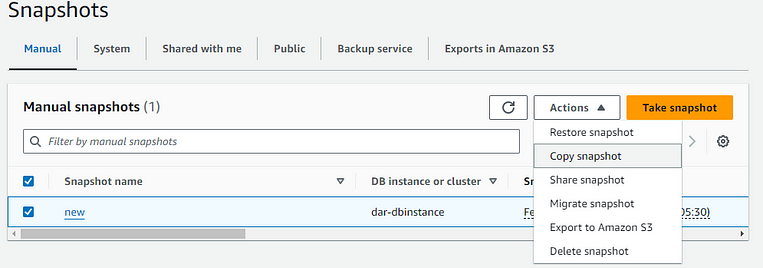
Step 8: On the Action button select Copy snapshot options on that.
Step 9: You get the page below & add configuration as per your requirements pls verify the destination region is the same as you have created the KMS key region otherwise you won’t get the KMS key.
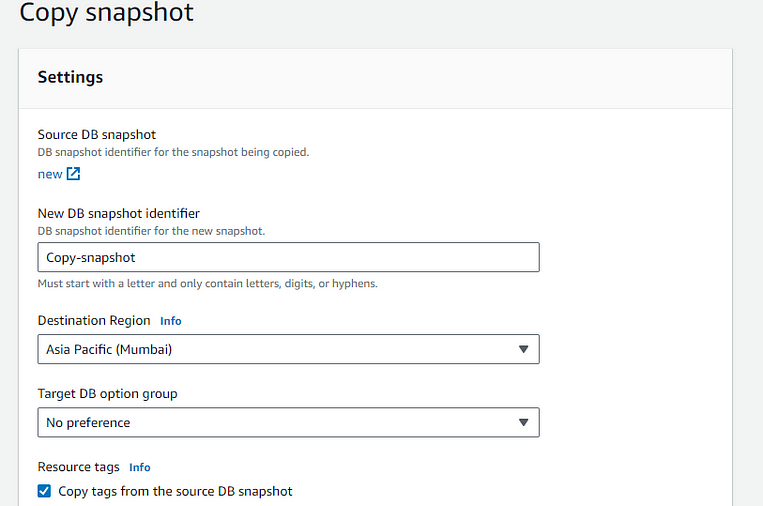
Step 10: In the encryption section attach the KMS key which we have created in step 8: like as.
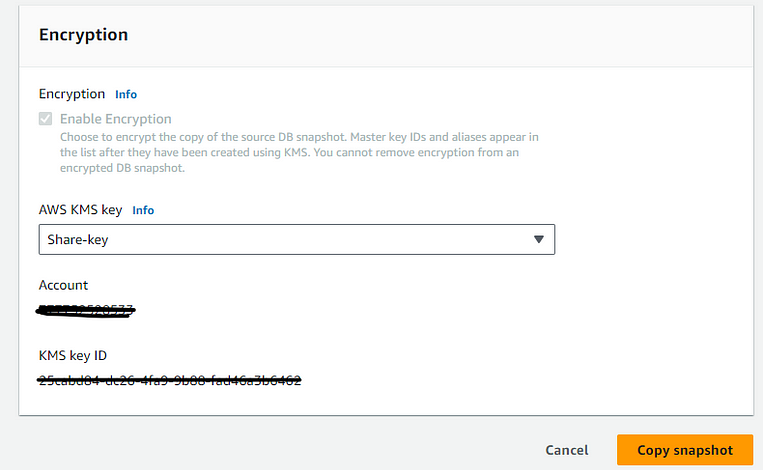
Step11: Finally you get a new copy snapshot.
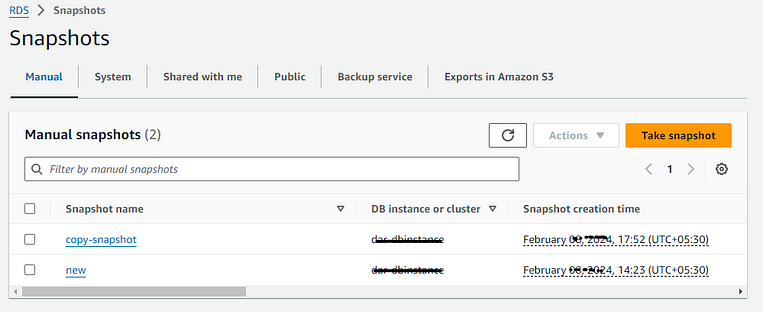
Step 12: Select the copy-snapshot that you have copied now then click on the Action button you get the options below.
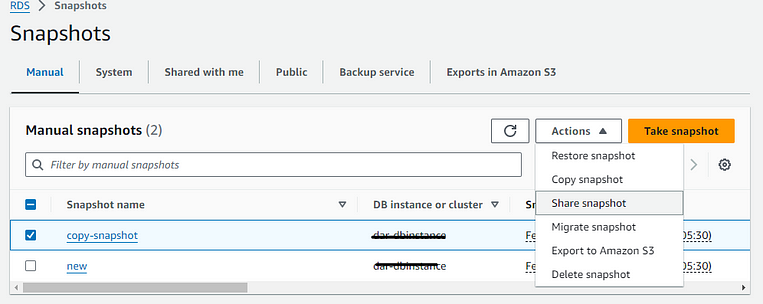
Step 13: On which option select Share snapshot.
Step 14: After selecting your page as.
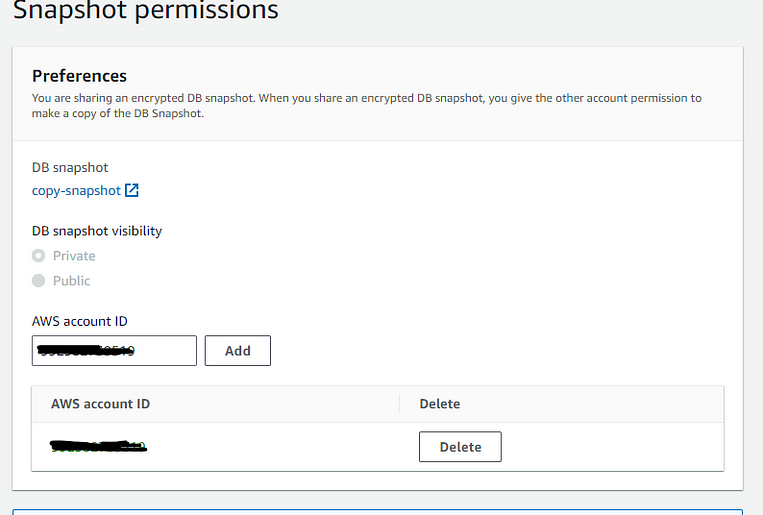
Step 15: Add your destination AWS account ID in the AWS account ID above the page then click on copy snapshot.
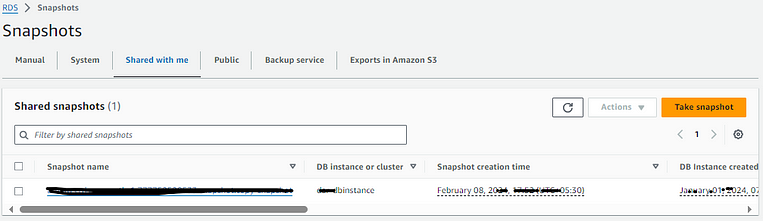
Step 16: Check on another AWS account on RDS service on which snapshot section click on the share to me section you get your copy snapshot below as.
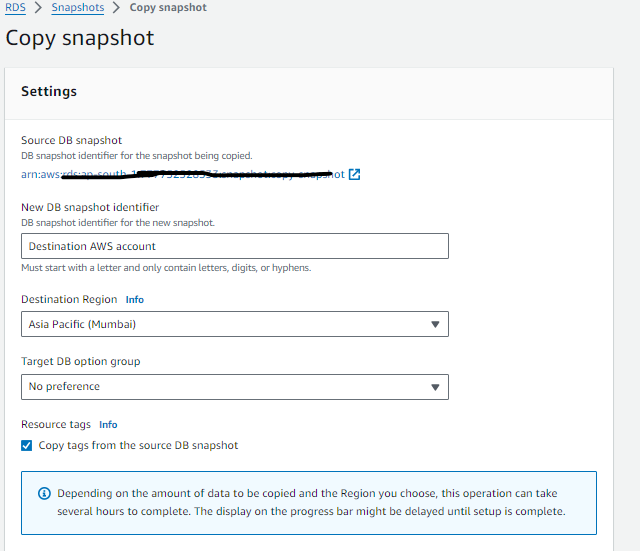
Step 17: Select that snapshot and click on the Action section you get as below.

Step 18: Then click on Copy snapshot & setup below the settings page as you define. select the destination region as per your requirement.
Step 19: Select the AWS KMS key as the default of your destination AWS account.
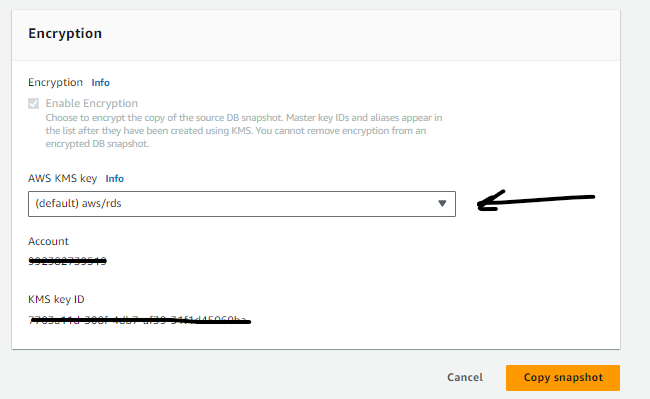
Click on copy snapshot.
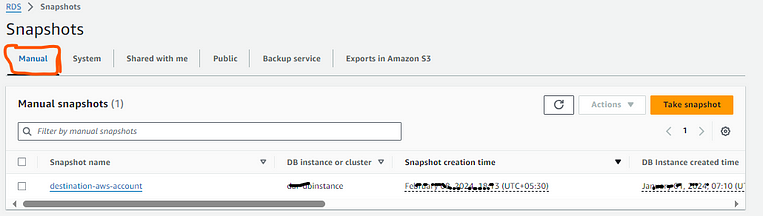
Step 20: After creating a copy of the snapshot successfully. you get your copy snapshot in the Manual section below.
Step 21: Finally your snapshot is generated click on that snapshot on an Action button.
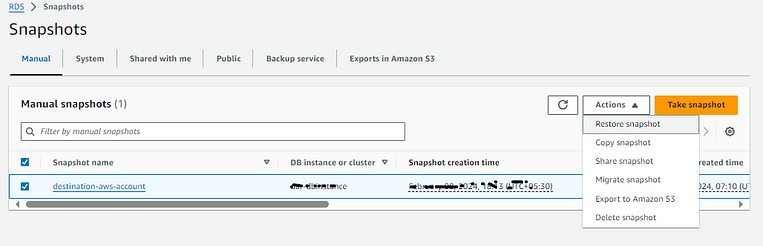
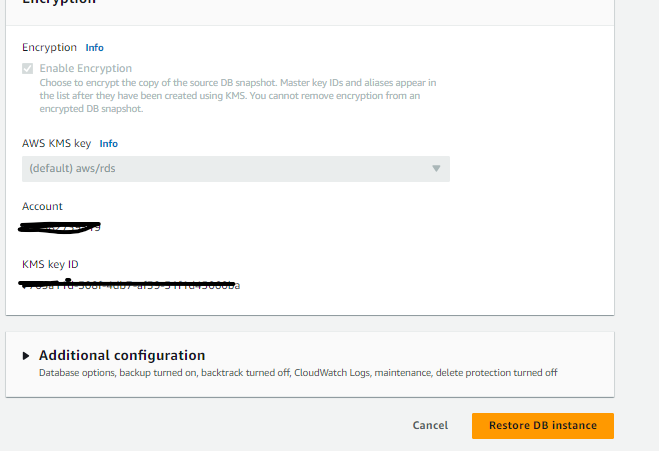
Step 22: On the action, button click on Restore snapshot then they ask you to Db-instance configuration and add that as per your organization’s requirement which is as below.
. Instance configuration
. Storage type
. Connectivity
. Username/password

Step 23:Finally click on RestoreDB instance.
Step 24: Check your Db-instance in the Database section.
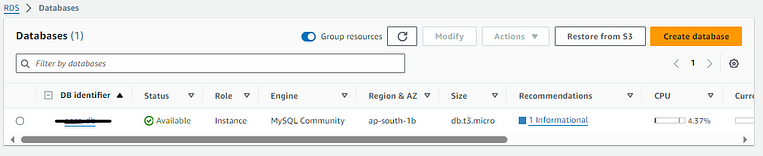
On destination Account DB-Instance.
Congratulations on*your new database inst[ance generated](medium.com/@piyushlokhande?source=post_page..)on which you get all th[e previous dat](medium.com/@piyushlokhande?source=post_page..)a on the present database.*